A useful 9 Kings layout planner starts with the relationships your kingdom needs: which plot deals damage, which plot keeps the army alive, and which support positions improve those recipients. Plan those relationships before filling the grid. Then adapt the arrangement to the cards and land the run actually gives you.
This page is a written planning guide with illustrative layouts, not an interactive editor or combat simulator. It uses version 0.9.8, Patch #31, and explains how to evaluate a proposed grid. A static layout cannot guarantee future draws, calculate every modified statistic, or establish a winning current multiplayer build.
Draw the usable grid before selecting cards
Begin with the plots you can currently use. Mark locked land separately from empty unlocked land, because they are different resources. A support position on a locked plot is a future possibility, while an empty unlocked plot can receive a card during current preparation.
Mark the base, troop plots, towers, and support buildings by role. This lets you see what the kingdom lacks before assigning exact card names. If every planned plot is a support, the diagram still needs a source of combat. If every plot is an attacker, the army may have no continuing growth or defensive relationship.
Use coordinates only as labels for your own diagram. A top-left or central position in a written example is not a fixed instruction independent of your unlocked land. Expansion and particular starting effects can change which cells are available, so map the role onto the actual board before placing a card.
Also mark temporary plots. A card you intend to destroy for another effect should not be mistaken for a permanent part of the final army. Separating those roles makes it easier to preserve the kingdom's main investments when a Tome asks you to choose a target.
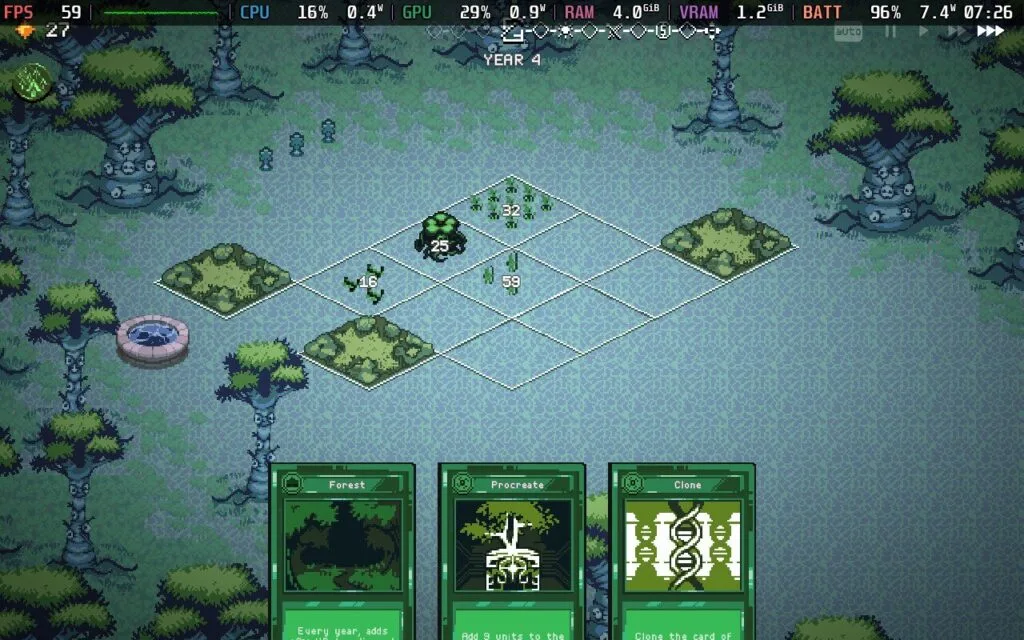
A small kingdom contains both occupied plots and positions reserved for later cards.
Count cardinal adjacency rather than visual closeness
Many support effects reach the four cardinal neighbors: above, below, left, and right. A diagonal card may look close but still be outside that effect. Draw the eligible connections rather than shading an entire surrounding square as though every nearby plot receives the same bonus.
A central position in a small grid can reach four neighbors, while a corner has fewer neighboring positions. That makes the center useful for support, but only when the surrounding plots are valid recipients. Four connections to unsuitable cards are not better than two connections to the kingdom's main combat plots.
Read each card's eligibility. Farm supports troop population, Forest supports troop HP, and Blacksmith supports damage for eligible nearby recipients. Library needs adjacent troops with relevant enchantments. The same physical position can serve different purposes depending on the card placed there.
Some effects do not need these local connections. Quarry improves towers across the kingdom, so it need not occupy the central support position solely to reach each tower. Place global effects with their actual rules in mind and reserve constrained positions for cards that truly require adjacency.
Patch #31 provides clearer visual feedback: selected plots highlight, support buildings show effects on affected plots, and Amplifier placement highlights recipients. Use the live display to check your diagram before committing an important card.
Reserve the center for a named relationship
Putting the base in the center can block later support connections. In many simple tower-base layouts, an edge or corner base leaves the center available for a support that reaches several recipients. This is a starting consideration, not a rule that every king must place its base in one identical cell.
The base's own function matters. A base that operates as a troop, supplies a local relationship, or benefits from adjacent support may require different planning from a stationary attack tower. Inspect the selected king's card rather than applying a Castle-specific habit to every base.
Name the support you hope to place centrally and its intended recipients. If the plan is a Farm supporting two troop roles, reserve those neighboring cells. If the plan is a Blacksmith supporting a troop and tower, verify that both recipients can receive its effect.
Do not leave the center empty indefinitely just because a diagram suggested it. If survival requires an immediate placement and the reserved support has not appeared, evaluate the current hand. You may need another workable arrangement that preserves the role without reproducing the ideal shape exactly.
A reserve is useful when it supports a plausible next card, not when it prevents every immediate action. The layout should help you choose among current options rather than force the run to wait for an unavailable piece.
Use role-based example arrangements
The following example puts a support in the center of a three-by-three section. It is a conceptual arrangement for cards whose effects use cardinal adjacency, not an exact build prescription.
| Position | Left | Center | Right |
|---|---|---|---|
| Upper row | Base or flexible role | Eligible recipient | Flexible role |
| Middle row | Eligible recipient | Local support | Eligible recipient |
| Lower row | Flexible role | Eligible recipient | Temporary or flexible role |
The support can reach the four named recipient positions. The corner plots remain available for roles that do not need that particular connection. Replace the labels with actual cards only after checking that the support and recipients have compatible effects.
A focused troop arrangement is another option. Put a useful troop in a position where the available supports can reach it, then reserve only the supports the troop needs. A frontline that already survives may need damage growth; a vulnerable ranged attacker may need protection before another offensive layer.
A wider arrangement can spread recipients around one support, while a concentrated arrangement can put several supports around one recipient. Compare them by what the next fights need. The first distributes value, while the second develops a core investment that becomes more costly to remove.
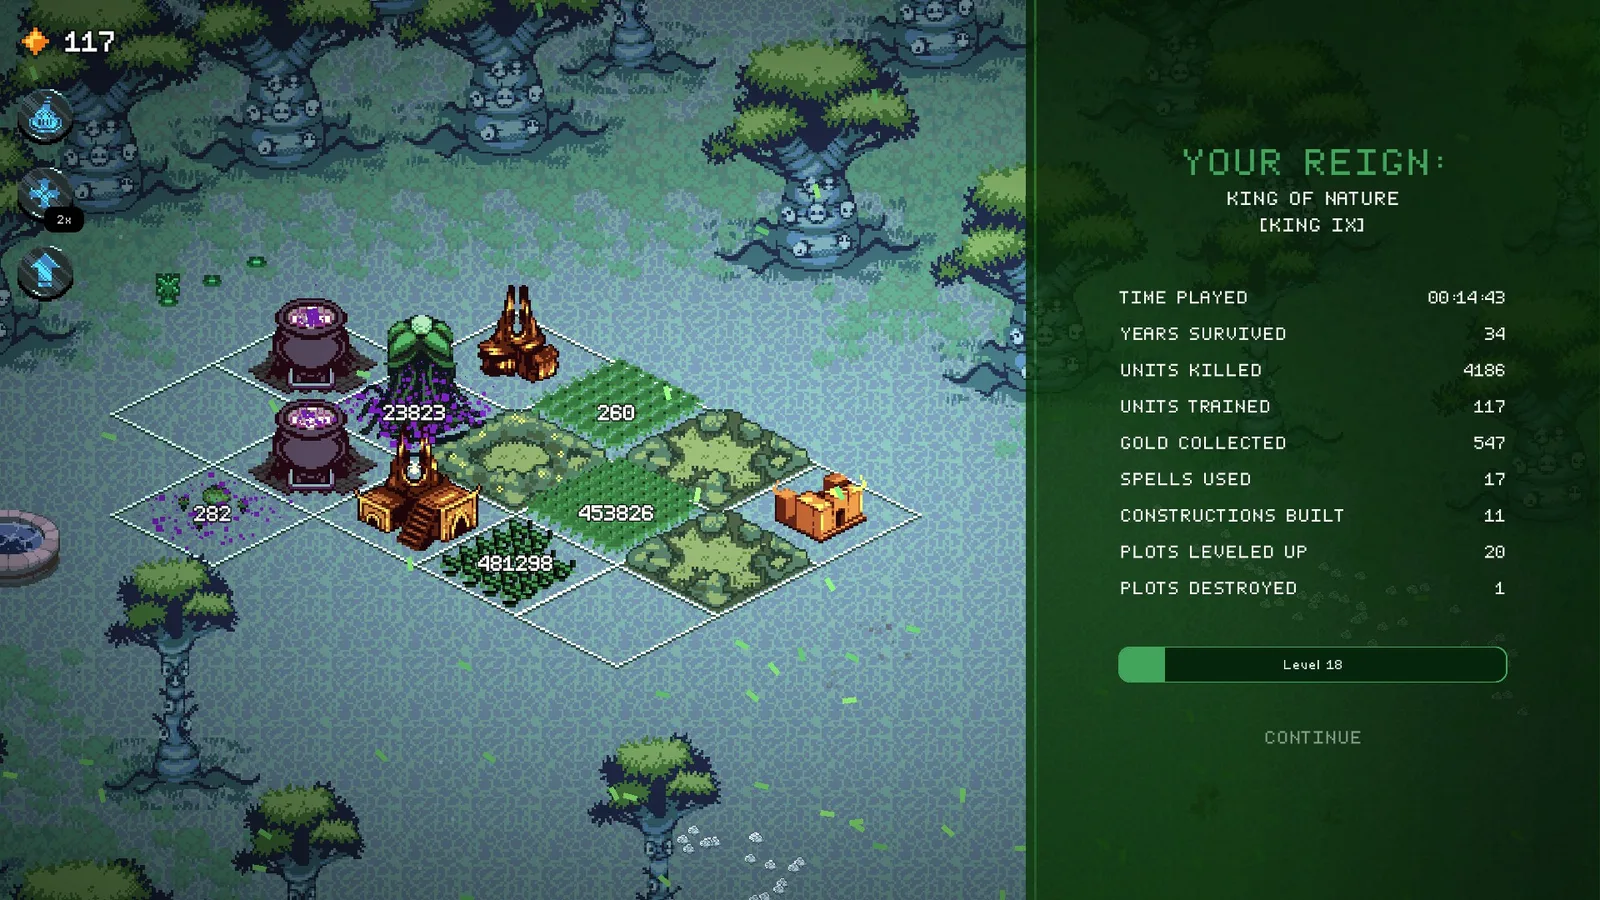
Historical layout illustrating neighboring troop and support roles; use it for geometry rather than its displayed totals.
Upgrade before automatically occupying more space
Placing a duplicate on a matching plot upgrades it. That can preserve the arrangement and improve a recipient already receiving support. Placing the duplicate on empty land creates a second plot that may need its own connections.
Use the upgrade preview to compare the actual result. The game shows which stats or effects increase when you hold an upgrade card over a plot. A layout plan should incorporate that information rather than treating one more occupied cell as an automatic improvement.
Concentration can save space and make a support network easier to develop. It also increases the importance of protecting the main plot. Before using a destructive card, identify whether the target is the investment that the rest of the kingdom supports.
A second copy can still be valuable when the kingdom needs another role or a particular leveling chain. Lab Rats, for example, use adjacency and development in a different way from an ordinary isolated troop. Do not flatten every card into the same fewer-plots rule.
Ask whether the new placement creates a useful relationship that the upgrade cannot. If the answer is only that an empty tile looks unfinished, inspect the upgrade first. A deliberate gap can remain a place for future support or a temporary action.
Plan destruction without losing the combat core
Destructive Tomes can create cards, upgrades, resources, expansion, or triggers for other effects. The target plot is part of their cost. Mark disposable positions in the layout so these actions have a home without requiring the main troop or tower to disappear.
If Cemetery is involved, check whether the destroyed troop plot is adjacent to it. The current Cemetery can create a Skeleton plot from adjacent troop destruction. If Recycler is involved, place its eligible recipients before discarding cards so the pit-triggered buffs reach useful plots.
Camp and Dragon Den connect to destruction-related actions, while Migration changes positions and relationships. Read both the origin and destination before moving a developed plot. A support that touched it before the move may not touch it afterward.
Earthworks can open land and recover cards from a target, but a recovered copy is not the same thing as preserving every accumulated effect on a developed plot. Check the current action and what the kingdom will contain immediately afterward.
A good destruction plan has a clear end state: the combat role remains, the expected reward is useful, and the resulting empty or replaced plot improves the next action. Repeatedly removing plots solely because a synergy exists can leave the army unable to fight.
Treat expansion as new relationships
When the kingdom gains more land, extend the role map instead of filling every new plot immediately. A newly unlocked position may let a Forest reach the right troop, open a disposable target next to a Cemetery, or allow a support to touch another recipient.
Randomly unlocked plots can make a fixed diagram impossible. Keep the relationship and adjust the coordinates. If the intended support cannot reach both recipients, decide which recipient matters more or use a different support position.
Separate plot count from combat strength. More land gives choices, but using a turn and card on another low-level plot may contribute less than upgrading an established attacker. Expansion is most useful when it solves an actual placement constraint.
Some cards interact with locked land or movement in special ways. Dwarf moves to an adjacent plot each year, including locked plots, and gains stats when it unlocks new land. That is a card-specific rule; it does not make every locked position generally available to every planned card.
Recheck the plan against current cards and mode
Older diagrams can preserve useful geometry while describing outdated effects. Reinforce no longer supplies damage through plot leveling, so an old Rat layout cannot rely on that former trigger. Recycler replaces the old Progress Precision slot, and Blood's summon relationships have changed.
Current feedback is more useful than the label on an old screenshot. Read the exact recipients, upgrade values, and modifiers in the game. Then confirm that the placed cards produce the relationship your diagram intended.
In multiplayer, check the seasonal rainbow-card and decree pool before reserving a large section of the grid for a special engine. A plan that requires an absent card needs a replacement relationship. Post-game kingdom review can then show how your actual board differed from the arrangement you expected.
Keep one fallback for the critical role: another frontline, another damage source, or another way to provide growth. The fallback should use available cards rather than reproduce the exact final picture. A layout succeeds as a planning aid when it makes the next placement clearer and keeps the current kingdom functional.
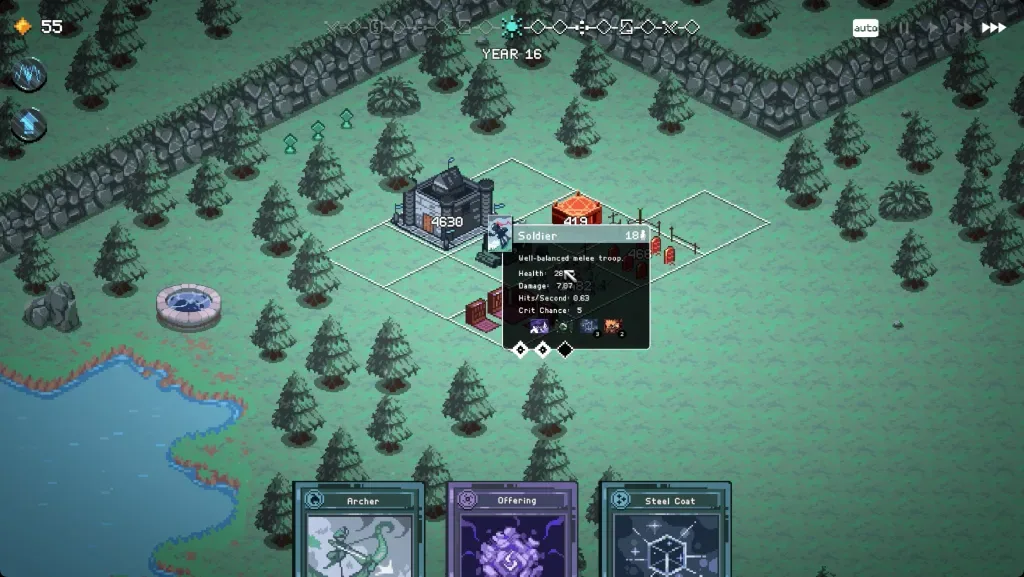
The selected plot display provides a direct check of the troop being developed.