For high difficulty, build the smallest engine that can survive its opening: a supported frontline with reliable damage, a Demon Altar protected by fodder, or a tower with enough screening to attack. Prioritize immediate stability before adding the growth system that will carry later fights. Adapt to the enemy that actually causes the first decisive failure.
This guide follows version 0.9.8. It offers conditional routes, not a verified universal King IX IX clear. Old high difficulty recipes contain removed cards, changed perks, and historical exploit assumptions. Enemy Ballistas and Demons were nerfed in singleplayer and quest mode in Patch #31, so older matchup claims also need care.
Choose an opening with more than one acceptable reward
An opening that depends on one exact card appearing immediately can be powerful when it succeeds and fragile when it does not. Prefer a core with several useful reward paths: a troop duplicate, a direct damage option, or support that already has a recipient.
You cannot remove randomness from the draw pool, but you can avoid making every ordinary alternative useless. A supported frontline may accept health, population, or damage improvements. A tower screen can improve through troop strength or control. A summon engine can use additional fodder or a relevant Altar investment.
| Opening route | Immediate requirement | Growth investment | Failure that needs a different answer |
|---|---|---|---|
| Troop carry | A main troop that survives contact | Farm, Forest or useful attack support | Enemy targeting removes the carry before it attacks |
| Blood Altar | Fodder and a damage route during development | Demon Altar and current summon interactions | The screen disappears and exposes the Demons |
| Tower defense | Tower plus enough delay | Quarry, Blacksmith or other useful support | Enemies reach the damage source too quickly |
| Time summoner | Protected Warper and a usable opening | Useful enchantments and support | Setup cards consume the army's needed combat tempo |
Pick according to what you can field, rather than the engine with the most impressive theoretical endpoint. High difficulty exposes a weak opening before a distant payoff matters.
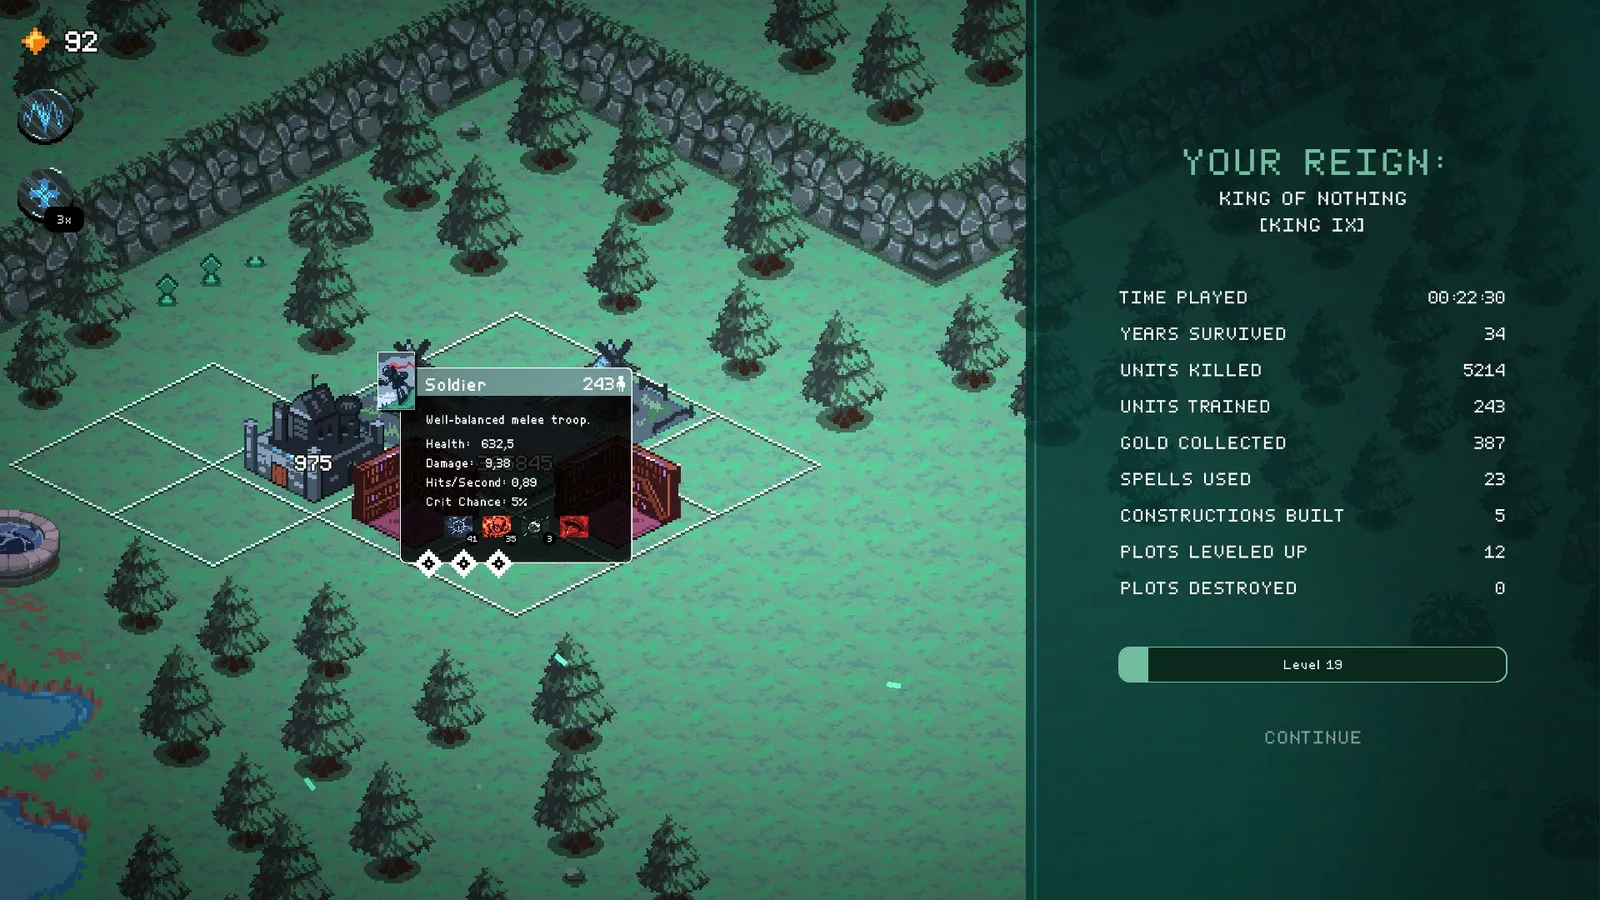
Layout reference only; use current card previews for stats and effects.
Put immediate survival ahead of perfect setup
Look at the next battle, not only the final board. A duplicate that improves the troop currently holding enemies can be more valuable than a rare support card needing another recipient and another turn. Stabilization buys access to future rewards.
This does not mean ignoring growth. An early Altar or Mycelium can matter precisely because it has time to develop. The decision is whether the present army can afford the investment. If the frontline is already failing, repair that before assigning another plot to future support.
Avoid filling every tile with weak independent pieces. Concentrated upgrades and support can make one functioning attacker more reliable. At the same time, keep a second screen or complementary damage source when the actual matchup requires it.
The simplest test is contribution. Does the card make an important unit survive, deliver useful damage, or improve the engine in time for an approaching problem? If it does none of those, it may be an attractive distraction from a necessary combat choice.
Use a troop carry when support can concentrate
Soldier and Paladin offer approachable frontline routes. Farm contributes troop growth, Blacksmith supports attack, and Forest can provide health from Nature. Place these around the intended main troop so their value does not spread to temporary recipients you plan to remove.
Steel Coat provides protection against incoming damage, but it does not eliminate every targeting problem. Watch whether the enemy repeatedly reaches the carry or whether a ranged attacker bypasses your ordinary screen. Protection and placement should work together.
If the frontline survives but the enemy remains healthy, improve damage or add a relevant attack effect. More population alone may preserve the same low-damage situation for longer. If the frontline dies immediately, a damage support intended for later turns may never pay off.
Do not reproduce a current build using Vampirism from Blood. That card was replaced by Oblation. Reinforce also changed from leveling-based damage growth to health growth during battle. Those changes invalidate several old high difficulty enchantment recipes.
Use Blood when you can protect the Altar engine
Demon Altar offers a long term damage route through allied deaths. Imp troops and Cemetery give the army expendable presence, while current Blood cards add destruction and pit-based development options.
A high difficulty opening still needs damage before the engine is fully developed. A temporary off-faction attacker can bridge that period. The valuable Demons also need enough remaining troops to keep enemy attention occupied.
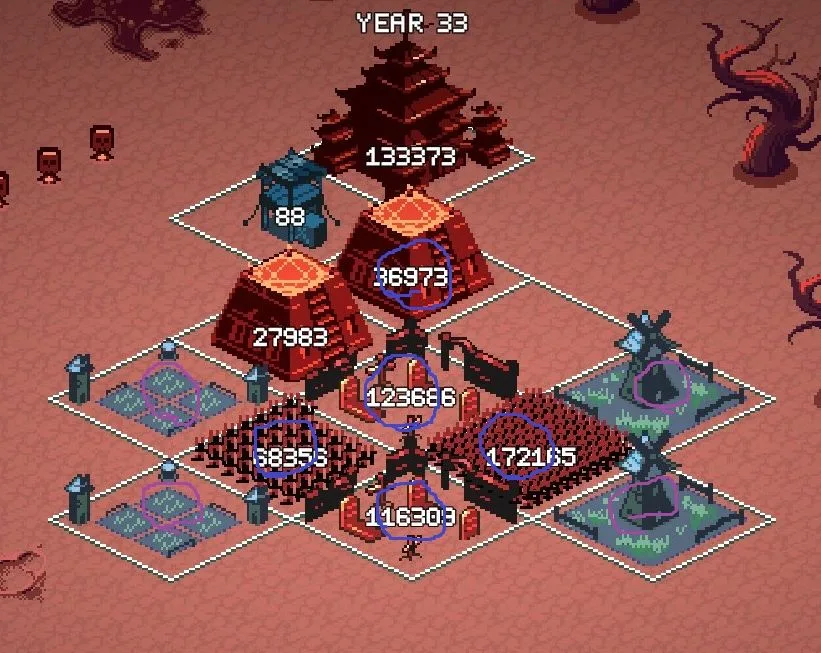
Layout reference only; use current card previews for stats and effects.
Current names and effects matter. Pagoda summons Ghosts and grows their count through unit destruction. Cemetery summons Skeletons and can create a Skeleton plot after adjacent troop destruction. Mangler summons meat trolls, with added health from destruction in Patch #31. Treat these as current systems rather than importing an old Imp-only diagram unchanged.
Avoid a mandatory fixed year for Altar upgrades. The right timing depends on whether the present army can survive and whether the Demons need more strength. Delaying necessary combat power to reproduce an old death-farming sequence can lose the run before it scales.
Give towers firing time and meaningful hits
A tower build needs both a damage source and delay. Scout Tower gains projectiles through levels, Trebuchet deals area damage, and Dispenser gains speed from gold earned. Their differences influence which support and enemies they handle well.
Quarry can improve tower damage, while Blacksmith helps adjacent recipients. Beacon supplies speed to suitable neighboring units and towers. Pick the support that addresses the actual weakness rather than stacking speed by habit.
Wallmaker or a troop screen can buy time. Trapper traps now stun, with stronger damage in Patch #31, giving another control option when the build needs enemies delayed. A large tower attack does not help if contact ends the battle before useful shots occur.
If all towers fail because the same screen collapses, adding another tower is an incomplete repair. If the screen survives and enemies remain healthy, improve hits or damage coverage. The battle tells you which side of the relationship needs investment.
Read enemy threats through their attack pattern
Different enemy attacks create different failures. Elves can threaten distant units. Thieves can reach the backline. Warlocks provide area damage. Ballista projectiles are stopped by walls under the deck rework. Use those distinctions to understand the result rather than declaring an entire king impossible.
Your army's own attack pattern matters too. A single-target carry may spend too long clearing fodder. An area effect may leave a durable enemy alive after eliminating the crowd. A poison plan needs useful application and enough time to influence the fight.
Do not use the same response for all losses. Backline pressure calls for protecting or replacing the exposed attacker. A durable frontline can call for more effective damage. A mass of disposable units can call for better coverage rather than a larger single hit.
The current patch changed enemy Ballista and Demon strength in singleplayer and quest mode. An older guide's absolute warning against those opponents is not a present guarantee. Observe what your specific build can handle under fresh run data.
Use the base deliberately when it contributes
Your base can help stabilize an opening or target an important enemy, depending on its attack behavior. If manual control lets you use that contribution more effectively, use it to support the current combat plan rather than treating the battle as completely automatic.
Choose targets by the danger they create. A backline attacker removing your carry may be more urgent than a harmless troop already occupied by the screen. A frontline unit preventing all your damage from reaching useful targets may need priority instead.
Do not assume every base shares the same attack, range, or target selection. The base is determined by your king. A plan using Palace does not transfer unchanged to a base that summons units or supplies a different area effect.
Manual targeting is also not proof that a weak build is guaranteed to work. It can improve an available contribution, but it cannot create missing troops, support, or a sustainable damage route. Repair the board when the base alone cannot bridge the opening.
Budget rerolls for the missing job
Before spending, identify the improvement that can change the next fight. Keep several acceptable outcomes. If the carry needs protection, a useful defensive card or a stronger screen may work. If the army needs damage, a duplicate, support connection, or complementary attacker may be acceptable.
Do not exhaust the wallet searching for one exact rare card when an ordinary improvement would stabilize the army. Keep enough resources for the next important decision rather than treating every reward as the last chance to complete the perfect build.
Gold-dependent troops need an additional check. Mercenary population uses the reserve you hold; its baseline is nine gold per unit after the rework. Spending can shrink a screen that looked adequate before the purchase. Compare the gain against that loss before committing.
Old economic exploits cannot fund the current plan. Patch #30 fixed full-hand purchase gold, unintended multiple loot rewards, and excessive Vault leveling. A high difficulty build should use ordinary available resources and remain understandable without a historical loophole.
Pick decrees that improve the present engine
A decree is valuable when the army can use it. Support activation favors useful support already connected to recipients. Health helps a troop that survives long enough to benefit. Poison-related effects need a working application route. Gold effects need a combat plan that converts income into useful power.
Do not choose an effect solely because an old guide calls it mandatory. Perks and cards changed, and the same decree can offer different value on a different board. Inspect the present recipients and choose the effect that changes a real bottleneck.
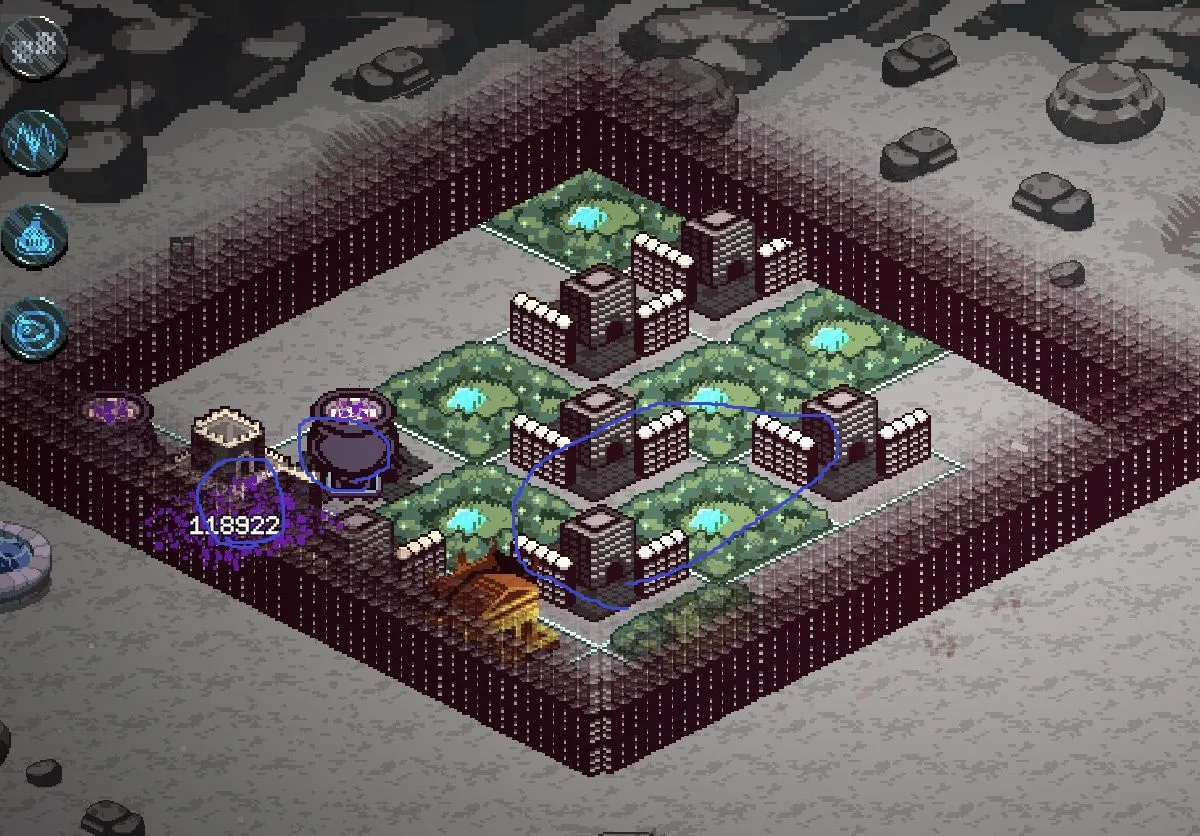
Layout reference only; use current card previews for stats and effects.
In multiplayer, Patch #31 rotates the decree pool by season. Check that pool before following a plan dependent on a specific payoff. Availability remains different from a guaranteed draw, so a viable opening should have another path if the preferred reward never appears.
Reassess diplomacy after the useful reward
Enemy decks affect your reward options. An opponent can be useful early because it provides a needed card, then become a threat after the card is secured. Reevaluate both sides of that trade instead of maintaining access out of habit.
If a king supplies the only support route for your current engine, removing it too early can limit growth. If the engine is complete and its army repeatedly causes decisive losses, continuing to chase one additional reward can be too costly.
Use actual failures rather than a fixed old friend-and-foe table. Your king, damage pattern, patch, and available cards determine the matchup. A threat to a fragile summoner may be manageable for a wall-supported tower, while a tower counter may be less dangerous to a troop army.
After a failed attempt, carry forward one concrete correction: a missing protection card, a support connection blocked by a temporary plot, or a reroll budget spent before the necessary upgrade. That makes the next opening more reliable without claiming that every high difficulty start can be forced into the same winning deck.